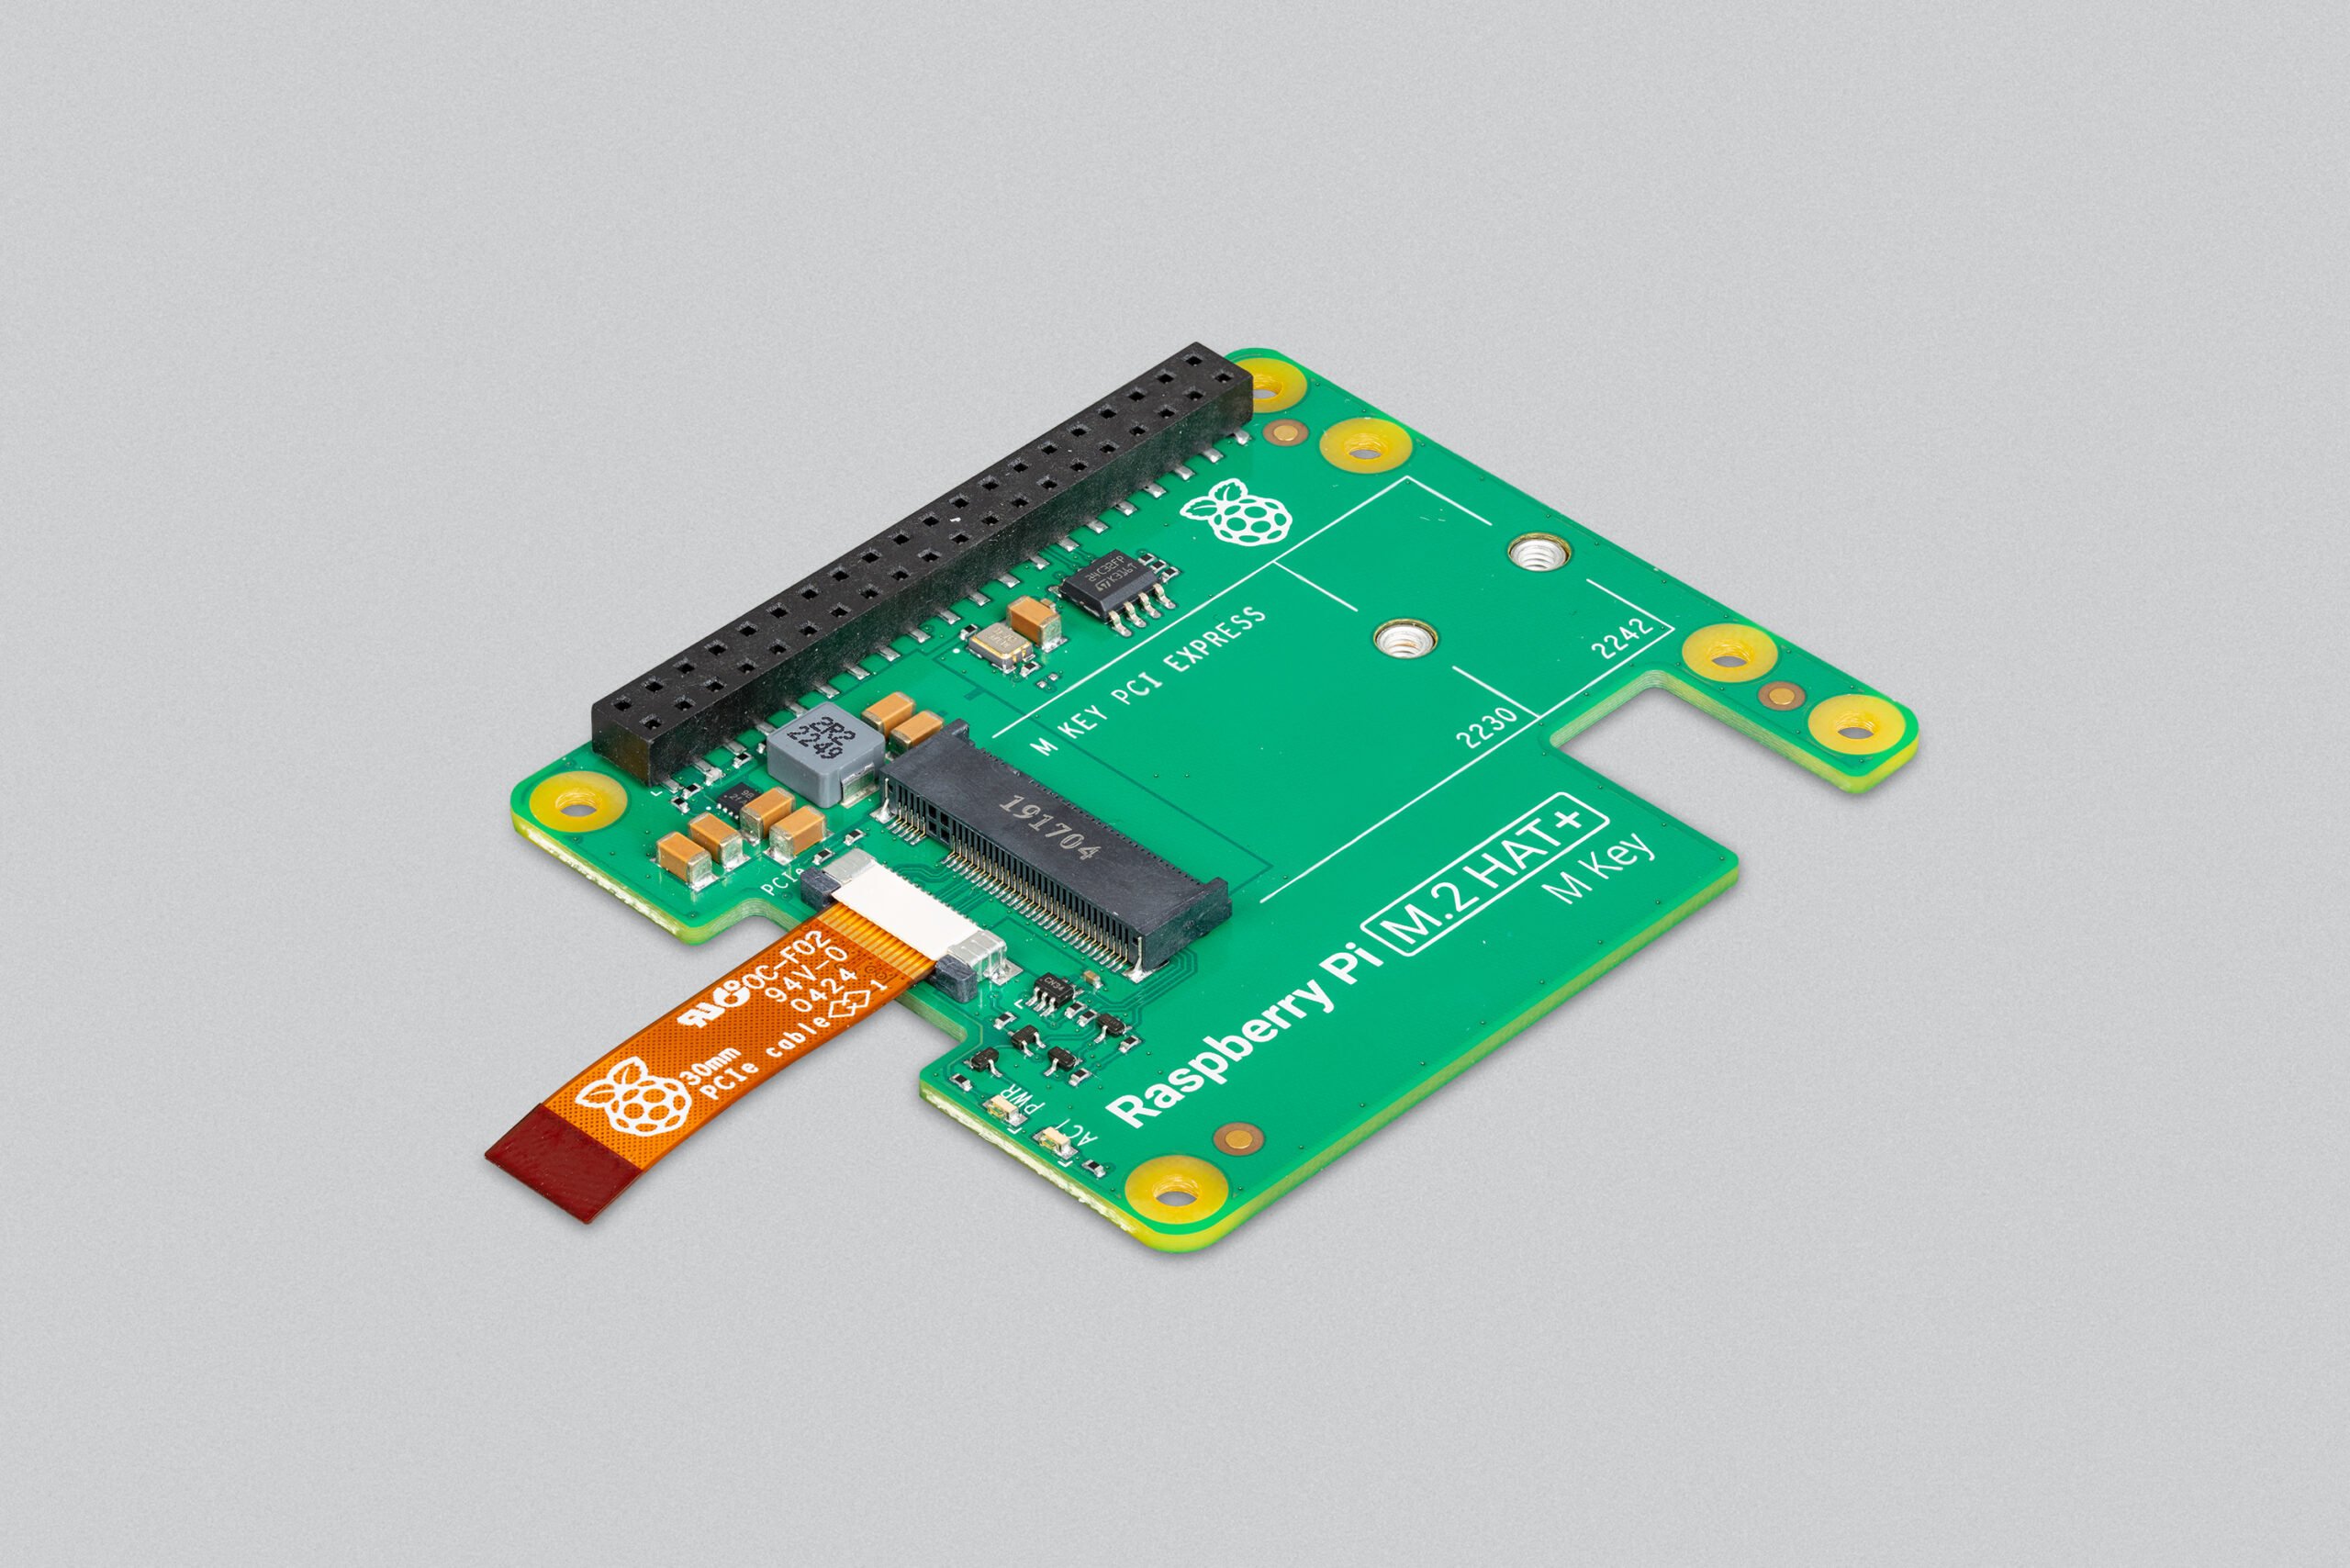
Adding fast M.2 accessories to your Raspberry Pi 5 can significantly boost its performance, particularly for data-intensive applications. This guide will walk you through the necessary steps to achieve this upgrade effectively.
What You Need
To get started, you’ll need the following components:
- Raspberry Pi 5
- NVMe M.2 SSD (preferably 2280 form factor)
- NVMe HAT (Hardware Attached on Top)
- USB-to-NVMe adapter
- Micro SD card with Raspberry Pi OS installed
- Basic tools for assembling the components
Step 1: Prepare Your NVMe Drive
- Boot from Micro SD Card: Start by booting your Raspberry Pi 5 from a micro SD card with Raspberry Pi OS installed.
- Connect NVMe SSD via USB Adapter: Attach your NVMe SSD to a USB 3 port on the Raspberry Pi using a USB-to-NVMe adapter. This allows you to format and set up the SSD before integrating it directly.
- Install Raspberry Pi OS on NVMe SSD: Use the Raspberry Pi Imager to write the OS to the NVMe drive. Ensure you select the NVMe SSD as the target drive.
Step 2: Configure the Raspberry Pi for NVMe Boot
- Edit the Boot Configuration: Open a terminal and edit the config.txt file located in /boot/firmware/.
sh
Copy code
sudo nano /boot/firmware/config.txt
Add the following line to set the PCIe connection speed:
sh
Copy code
dtparam=pciex1_gen=3
Save and exit the editor by pressing CTRL + X, then Y, and Enter.
- Update the Bootloader: Ensure the bootloader firmware is up to date.
sh
Copy code
sudo apt update sudo apt full-upgrade sudo reboot
Step 3: Assemble the Hardware
- Install the NVMe HAT: Attach the NVMe HAT to the Raspberry Pi 5. This typically involves connecting the flat flex cable from the HAT to the Pi’s PCIe interface.
- Insert the NVMe SSD: Secure the NVMe SSD into the HAT. Make sure it’s firmly connected.
- Reconnect and Boot: Reattach all necessary cables and power up the Raspberry Pi. It should now boot from the NVMe SSD, providing a noticeable performance increase.
Step 4: Final Configurations
- Check Boot Order: Use the raspi-config tool to ensure the boot order prioritizes the NVMe SSD.
sh
Copy code
sudo raspi-config
Navigate to Advanced Options and select Boot Order, setting it to prioritize the NVMe SSD.
- Verify Installation: After rebooting, confirm the system is using the NVMe SSD by checking the mounted filesystems.
sh
Copy code
df -h
By following these steps, you can leverage the speed and efficiency of NVMe storage, enhancing your Raspberry Pi 5’s performance for various applications such as media centers, network storage solutions, or development projects.
Upgrading your Raspberry Pi 5 with an M.2 NVMe SSD is a straightforward process that offers substantial benefits in terms of speed and performance. Whether you’re using your Pi for development, media streaming, or as a mini server, this upgrade ensures it runs smoother and faster.


